Vue如何高效通过JSX动态渲染组件
一、明确需求
如何渲染动态组件呢?
有一组数组结构如下:
const arr = [ { tag: 'van-field' },// 输入框{ tag: 'van-cell' }, // 弹出层{ tag: 'van-stepper' } // 步进器
]
想通过循环arr,拿到tag渲染对应的组件。
下面我们分析如何写才是最优。
二、进行分析
2.1 v-if走天下
我们可以写一个v-for去循环arr数组,然后通过v-if去判断tag,渲染对应的组件类型。
这样子写不是不可以,只不过扩展性不好,每次加一个标签,模板就要再加一个v-if。
我相信很多人起初都是这样写。
但这不是我们优雅人该写的代码。
2.2 动态渲染组件标签
我们能不能根据tag的标签来渲染出真正的标签。
关键是循环内,怎么根据遍历的tag去渲染出真正的组件。
<van-cellv-for="(cell, cellKey) in arr" :key="cellKey" ><!-- 动态渲染-->
</van-cell>
有请今天的主角JSX上场。
2.3 JSX动态渲染组件
父组件
<van-cellv-for="(cell, cellKey) in arr" :key="cellKey" ><!-- 用jsx动态渲染--><RendTag :cell="cell" />
</van-cell>

const arr = [ { tag: 'van-field' },// 输入框{ tag: 'van-cell' }, // 弹出层{ tag: 'van-stepper' } // 步进器
]
子组件RendTag.vue
<script>
const AssemblyRend = {name: "assembly-rend",props: ["cell"],data() {return {input: "",};},methods: {onClick() {this.$emit("changeTag", this.input);},},computed:{itemVal:{get(){return this.cell.value},set(v){this.cell.value = v}}},render() {const { cell } = this; // 解构const assembly = cell.tag;// 这里就是我们动态渲染组件的核心 return (<assemblyv-model={this.itemVal}placeholder={cell.placeholder}min={cell.min}onClick={this.onClick}></assembly>);},
};

export default {name: "RendTag",props: {cell: {type: Object,default:()=>{return {{"title": "能否输入",placeholder: '请输入姓名',"value": "name","tag": "van-switch",}}}},},methods: {changeTag(val) {},},render() {const { cell } = this; // 解构return (<div class="rendTag-content"><AssemblyRendcell={cell}onChangeTag={this.changeTag}></AssemblyRend></div>);},
};
</script>
我们利用JSX的render可以写JavaScript返回组件,来实现我们动态渲染标签。
render相当于我们vue中的模板。
于是渲染出的效果如下:根据tag渲染成真正的组件
我们用普通的组件,无法像JSX一样渲染成我们想要的组件。
这里的v-model用计算属性的坑,我推荐看一遍:实战v-model如何绑定多循环表达式(内含原理)
其实这两篇是有一定的挂钩的,只不过我在这里拆开了需求。
主要也是方便朋友们阅读理解。
三、vue中如何使用JSX
借着该需求,我们恶补一下JSX。
3.1 是什么?
JSX 是一种 Javascript 的语法扩展,JSX = Javascript + XML,即在 Javascript 里面写 XML,因为 JSX 的这个特性,所以他即具备了 Javascript 的灵活性,同时又兼具 html 的语义化和直观性。
活度强的部分组件可以用JSX来代替(比如以上需求);> 整个工程没有必要都使用JSX。
3.2 基本用法
3.2.1 函数式组件
我们在组件中,也可以嵌入ButtonCounter组件。
const ButtonCounter = {name: "button-counter",props: ["count"],methods: {onClick() {this.$emit("changeNum", this.count + 1);}},render() {return <button onClick={this.onClick}>数量:{this.count}</button>;}
};

export default {name: "HelloWorld",props: {msg: String},data() {return {count: 0};},methods: {// 改变button按钮数量changeNum(val) {this.count = val;}},render() {const { count } = this; // 解构return (<div class="hello-world-content"><ButtonCounter style={{ marginTop: "20px" }} count={count} onChangeNum={this.changeNum}></ButtonCounter></div>);}
};
3.2.2 普通属性、行内样式、动态class与style
可以看到,其实和vue的模板写法基本一致,只不过要注意的是花括号;
在vue的模板是要写两对花括号,而在JSX只需要写一对。
export default {name: "HelloWorld",props: {msg: String},data() {return {count: 0,text: "Hello World!",msgClass: "msg-class",isGreen: true};},render() {const { count, text } = this; // 解构return (<div class="hello-world-content"><p class={this.msg ? this.msgClass : ""}>动态绑定class</p><p style={this.isGreen ? "color: green" : ""}>动态绑定style</p></div>);}
};
3.2.3 常用指令
v-html、v-if、v-for、v-model常用指令在JSX中无法使用,需要使用其他方式来实现。
v-html
在JSX中,如果要设置DOM的innerHTML,需要用到domProps。
组件使用:
<HelloWorld  msg="<div class='custom-div'>这是自定义的DOM</div>">
</HelloWorld>
组件代码:
export default {name: "HelloWorld",props: {msg: String},data() {return {};},methods: {},render() {return <div domPropsInnerHTML={this.msg}></div>;}
};
渲染DOM结果:
v-for
使用map来实现:
render() {const list = [1,2,3]return( <div>{ list.map(item => <button>按钮{item}</button>) }</div>)
}
v-if
简单示例:用三元
render() {const bool = false;return <div>{bool ? <button>按钮1</button> : <button>按钮2</button>}</div>;
}
复杂示例:直接用JS
render() {let num = 3if(num === 1){ return( <button>按钮1</button> ) }if(num === 2){ return( <button>按钮2</button> ) }if(num === 3){ return( <button>按钮3</button> ) }
}
v-model
直接使用:<input v-model={this.value}>
export default {name: "HelloWorld",props: {msg: String},data() {return {value: "abc"};},watch: {value(val) {console.log("this.model内容:" + val);}},methods: {},render() {return (<div><input v-model={this.value} placeholder="普通文本" /></div>);}
};
3.2.4 监听事件、事件修饰符
监听事件
监听事件想到用 onChange, onClick等。
需要注意的是,传参数不能使用 onClick={this.handleClick(params)},这样子会每次 render的时候都会自动执行一次方法。
应该使用bind,或者箭头函数来传参。
组件示例代码:
export default {name: "HelloWorld",props: {msg: String},data() {return {};},methods: {handleClick(val) {alert(val);}},render() {return (<div><button type="button" onClick={this.handleClick.bind(this, 11)}>方式一</button><button type="button" onClick={() => this.handleClick(22)}>方式二</button></div>);}
};
用监听事件来实现v-model:
methods: {input(e) {this.value = e.target.value;}},render() {return (<div><input type="text" value={this.value} onInput={this.input} /></div>);}
也可以调整为:
<input type="text" value={this.value} onInput={(e) => (this.vaue = e.target.value)}
/>
还可以使用对象的方式去监听事件:解构事件
export default {name: "HelloWorld",props: {msg: String},data() {return {value: ""};},watch: {value(val) {console.log("this.model的内容:" + val);}},methods: {handleInput(e) {this.value = e.target.value;},handleFocus(e) {console.log(e.target);}},render() {return (<div><input type="text" value={this.value} {...{ on: { input: this.handleInput, focus: this.handleFocus } }} /></div>);}
};
nativeOn仅对于组件,用于监听原生事件,也可以使用对象的方式去监听事件:
{...{nativeOn:{click: this.handleClick}}}
事件修饰符
和指令一样,除了个别的之外,大部分的事件修饰符都无法在JSX中使用。
- .stop : 阻止事件冒泡,在JSX中使用
event.stopPropagation()来代替 - .prevent:阻止默认行为,在JSX中使用
event.preventDefault()来代替 - .self:只当事件是从侦听器绑定的元素本身触发时才触发回调,使用下面的条件判断进行代替
if (event.target !== event.currentTarget){return
}
.enter与keyCode: 在特定键触发时才触发回调
if(event.keyCode === 13) {// 执行逻辑
}
除了上面这些修饰符之外,尤大大对于.once,.capture,.passive,.capture.once做了优化,简化代码:
export default {name: "HelloWorld",props: {msg: String},methods: {handleClick(e) {console.log("click事件:" + e.target);},handleInput(e) {console.log("input事件:" + e.target);},handleMouseDown(e) {console.log("mousedown事件:" + e.target);},handleMouseUp(e) {console.log("mouseup事件" + e.target);}},render() {return (<div{...{on: {// 相当于 :click.capture"!click": this.handleClick,// 相当于 :input.once"~input": this.handleInput,// 相当于 :mousedown.passive"&mousedown": this.handleMouseDown,// 相当于 :mouseup.capture.once"~!mouseup": this.handleMouseUp}}}>点击模块</div>);}
};
3.3 插槽
3.3.1 普通插槽与具名插槽
父传子。
示例:
<HelloWorld><template slot="default">默认内容</template><template slot="footer"><el-button type="primary">确定</el-button><el-button>取消</el-button></template>
</HelloWorld>
HelloWorld组件代码:this.$slots
export default {name: "HelloWorld",render() {return (<div><div class="default">{this.$slots.default}</div><div class="footer">{this.$slots.footer}</div></div>);}
};
3.3.2 作用域插槽
子传父。
示例:
<HelloWorld><template v-slot:content="{ name, age }"><div>姓名:{{ name }}</div><div>年龄:{{ age }}</div></template>
</HelloWorld>
HelloWorld组件代码:this.$scopedSlots
export default {name: "HelloWorld",render() {return (<div><div class="content">{this.$scopedSlots.content({ name: "张三", age: 20 })}</div></div>);}
};
子组件通过{this.$scopedSlots.content({ name: "张三", age: 20 })}指定插槽的名称为content,并将含有name,age属性的对象数据传递给父组件,父组件就可以在插槽内容中使用子组件传递来的数据。
看到v-html用innerHTML;v-for用map;.stop用
event.stopPropagation()。> 你有什么感想?> 这不就是我们JavaScript方法的操作吗。> 所以JSX就是Javascript + XML。
最后
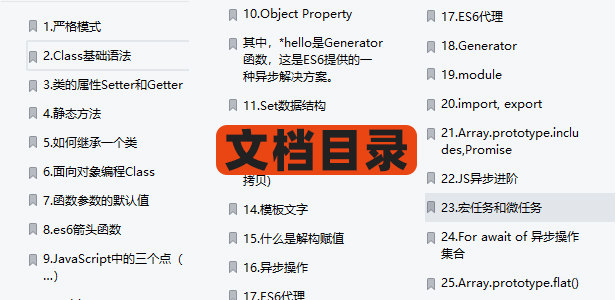
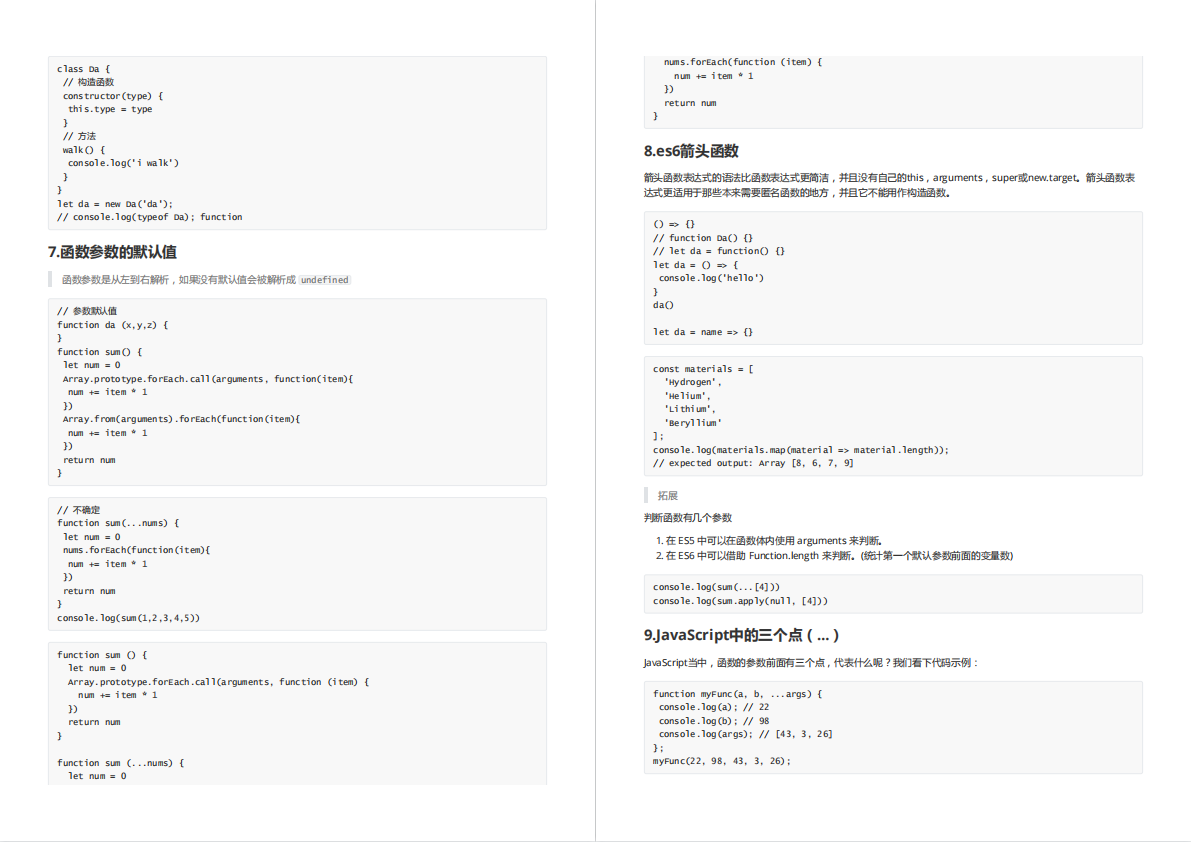
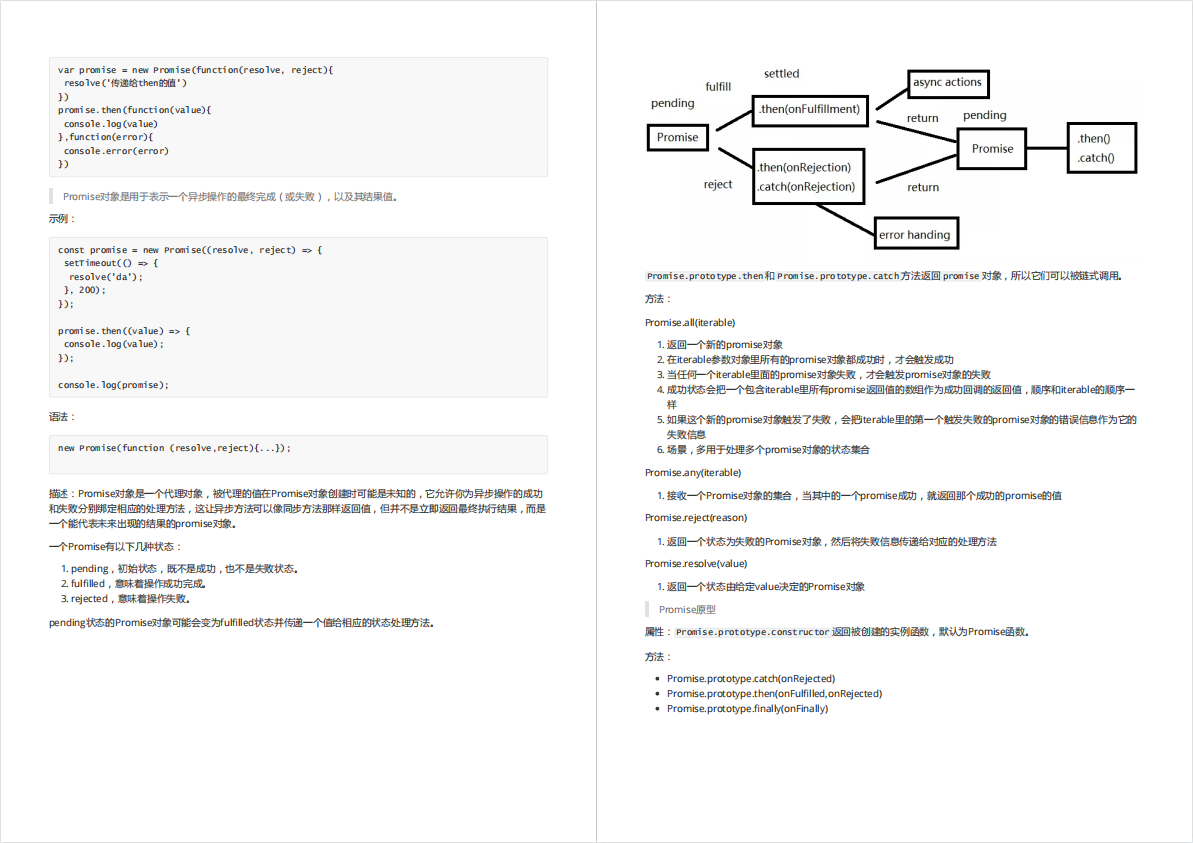
最近还整理一份JavaScript与ES的笔记,一共25个重要的知识点,对每个知识点都进行了讲解和分析。能帮你快速掌握JavaScript与ES的相关知识,提升工作效率。


有需要的小伙伴,可以点击下方卡片领取,无偿分享
